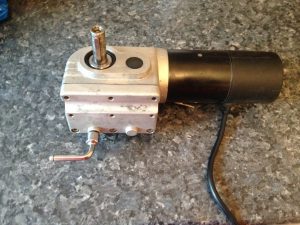
Testing A Secondhand Wheelchair Motor
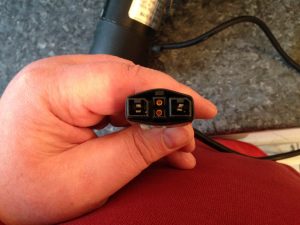
These were 24 volts brushed motors and you should be able to see from the connector there are four wires… but that doesn’t mean it’s brushless (don’t get these mixed up). Two of these wires are for the motor (positive and negative) but the other two are for an electronic brake. It’s critical this brake is not left on as the motor is tested as it will damage the motor. Now I didn’t want to keep the emergency brake as I couldn’t yet modify the motors I needed to circumvent these for testing. Thankfully this was actually very easy.
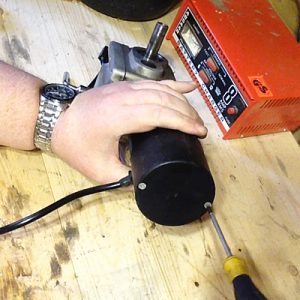
Step 1 – Undo the two screws and remove the black plastic cap.
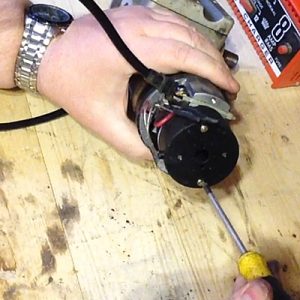
Step 2 – Undo the two screws and remove the electric brake. Don’t disconnect the wires but do pull the brake away from the body of the motor as far as possible.
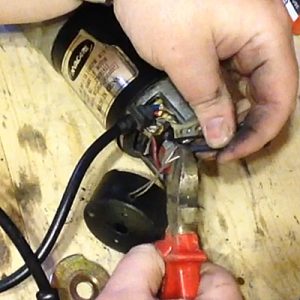
Step 3 – Below the brake are a number of metal components. These are part of the braking mechanism and need to be replaced. Take careful note of the order these are fitted as you pull them away (no tools required).
Step 4 – You’ll need a power supply to test the motors. I used a 12 volt car battery charger. Whilst these motors are 24 volts, 12 volts is ample for testing. Insert some suitable probes into connector and attach the oppopriate polarity leads to your pwer supply. Turn on your power supply and the motor should now turn.
Step 5 – If you want to keep your emergency brake or if your motors have failed to work, reassemble. Take care to fit the brake components correctly. If you don’t want to keep the brake, then it can be removed.
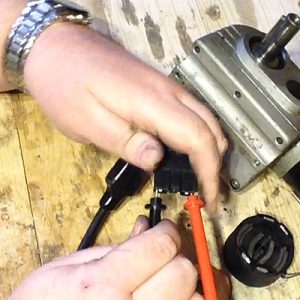
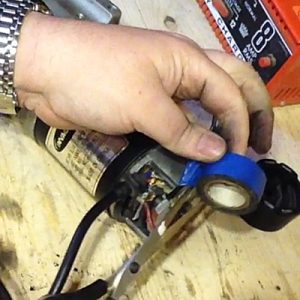
Step 6 – There should be two wires from the electric brake. Making sure your power supply is disconnected, cut these wires to remove the brake.
Step 7 – There should be no bare wires showing but for added protection individually wrap each wire end with insulation tape. Tuck these wires to the side and reassemble. There’s no need to include any of the brake parts.
That should be it. No doubt things will vary slightly between makes and models, but if you need to remove the emergency brake from an electric wheelchair motor, hopefully you now know how. If you’ve got any questions, just drop me a line.
If you want to see my YouTube video on the subject and see me doing this in real time, simply click below:
 Electric Wheelchair Motor Test & Emergency Brake Removal